In HTML Intermediate Tutorials we took a first look at forms, and introduced the <input>, <label> and <textarea> tags for use inside the <form></form> element. In this lesson we take a final look at forms with the remaining HTML tags we haven’t used for form entry so far.
The button Tag
The <button> tag and its’ closing </button> tag are used to define a push button.
The fieldset Tag
The <fieldset> tag and its’ closing </fieldset> tag are used within the <form> </form> element to define a form control group.
The legend Tag
The <legend> tag and its’ closing </legend> tag should be placed after the opening <fieldset> tag to define a caption for the fieldset.
The optgroup Tag
The <optgroup> tag and its’ closing </optgroup> tag are used within the <select> </select> element to group related options together.
The option Tag
The <option> tag and its’ closing </option> tag are used within the <select> </select> or <optgroup> </optgroup> element to define a selectable option.
The select Tag
The <select> tag and its’ closing </select> tag are used to create a drop down list of selectable options.
Viewing The Tags
Open the file with Notepad we created and tested in Lesson: 5 A Final Trip to Tablesville
You saved the file to your computer in the C:\_HTMLAdvanced folder as lesson_5_webpage.html
Copy and paste the following code into the reopened file, overwriting the existing contents.
<!DOCTYPE html PUBLIC "-//W3C//DTD XHTML 1.0 Strict//EN"
         "http://www.w3.org/TR/xhtml1/DTD/xhtml1-strict.dtd">
<html xmlns="http://www.w3.org/1999/xhtml">
<head>
<title>
  HTML Doctor - HTML Tutorials - Advanced HTML Lesson 6 - Advanced Forms
</title>
  <base  href="http://htmldoctor.info/" />
</head>
<body>
<!--Advanced Forms -->
<h2>Advanced Forms</h2>
<h3>Form Using A Fieldset and Drop-Down List</h3>
<form action="htmladvanced/simpleform.html" method="get">
  <fieldset>
    <legend>Pie Survey</legend>
    <p>Name:<input type="text" name="name" /></p>
    <p>Which pie do you prefer?:</p>
  <p><input type="radio" name="pie" checked="checked" value="Chicken" id="chicken" />
     <label for="chicken">Chicken</label></p>
  <p><input type="radio" name="pie" value="Fish" id="fish" />
     <label for="fish">Fish</label></p>
  <p><input type="radio" name="pie" value="Shepherds" id="shepherds" />
     <label for="shepherds">Shepherds</label></p>
    <p>Select a pie shape:</p>
    <p><select name="mySelection">
      <optgroup label="Normal">
        <option selected="selected"  value="Round">round</option>
        <option value="Square">square</option>
      </optgroup>
      <optgroup label="Custom">
        <option value="Hexagon">hexagon</option>
        <option value="Star">star</option>
        <option value="Triangle">triangle</option>
      </optgroup>
    </select></p>
    <p>Submit your information:</p>
    <p><button type="submit" value="Submit">Submit</button></p>
  </fieldset>
</form>
</body>
</html>
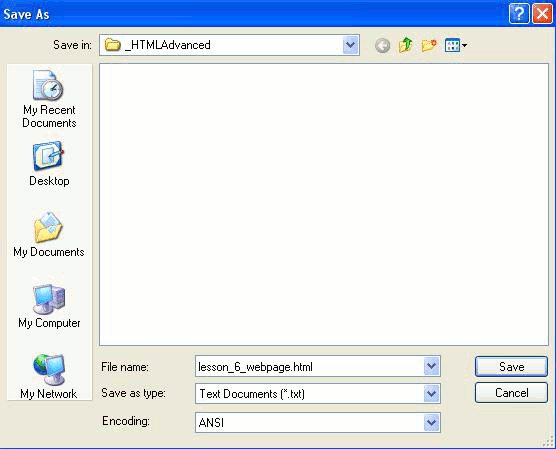
Save the file in the C:\_HTMLAdvanced folder as lesson_6_webpage.html and close the Notepad.
Viewing Our Changed File
From the C:\_HTMLAdvanced folder, double click on the saved file and it will appear in your default web browser something like the following image.
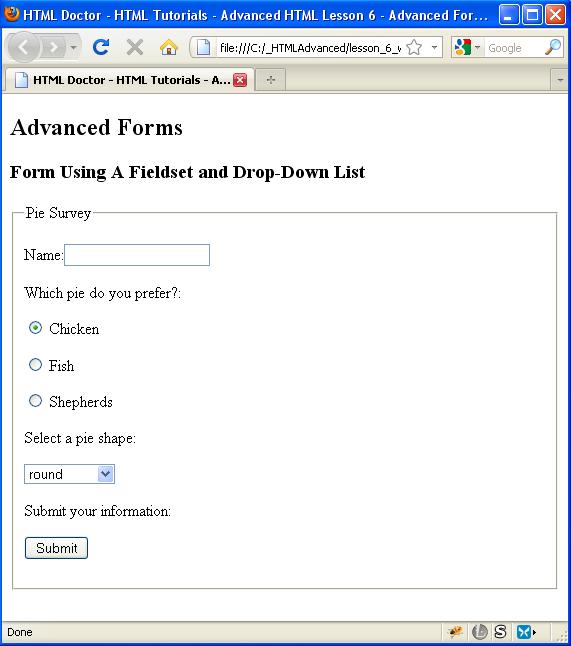
Reviewing Our Changes
The Form
The <form> element encloses the other tags we wish to use in our forms and we used this tag with its’ action and method attributes. The action attribute tells the browser which URL to invoke when the user submits the form. The method attribute tells the browser how to submit the form data.
Fieldset
We have used the <fieldset></fieldset> element to group the elements within the form together.
Legend
We have used the <legend></legend> element to give a caption to the elements grouped within the <fieldset></fieldset> element. We called the caption ‘Pie Survey’.
Text Input
We have used the <input> tag along with its type attribute to allow the user to enter their name. We did this by setting the value of the type attribute to text. The name attribute was used to pass the value of the text entered to the server.
Radio Button Input
We also used the <input> tag along with its type attribute to allow the user to select a radio button. We did this by setting the value of the type attribute to radio. The checked attribute was used to set an initial value for the radio buttons. The name attribute was used to pass the value attribute of the radio button selected to the server.
Label Input
We used the <label> tag to give each radio button a name. We also used the for attribute to allow the user to select a radio button by using the mouse to click on the text. The for attribute of the <label> tag must match the id attribute of the <input> tag to bind the two together and allow this usability with the mouse.
Selection (drop-down menu) Input
We used the <select></select> element to create a drop-down selectable menu. We used the <colgroup></colgroup> element within the <select></select> element to group together selectable <option></option> elements. The name attribute was used to pass the value attribute of the selection to the server.
Entering Data
Use the mouse to click in the name field and enter some input. Also maybe click a different radio button and select something from the drop-down list. Following is an example:
Submit the data
Use the mouse to click the submit button and a screen similar to the following will appear:
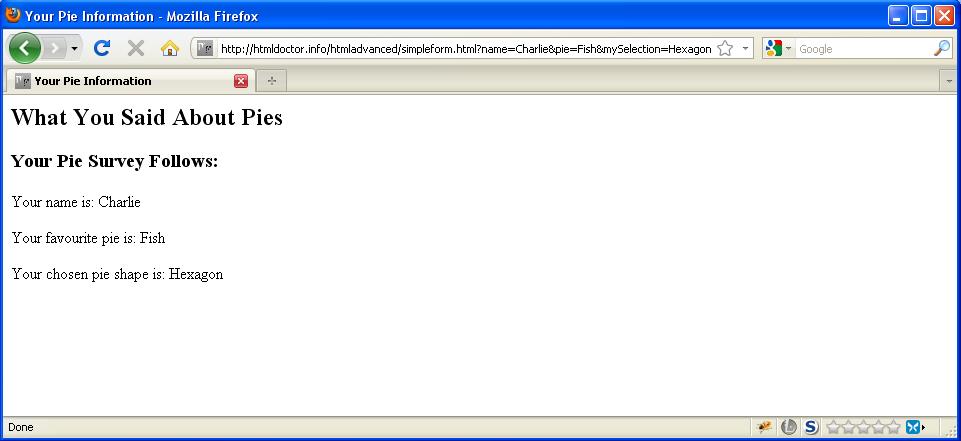
Reviewing Our Changes
As you can see the information we entered has been passed across and rendered on the screen. How the information was passed across is beyond the scope of these tutorials but take a look at Learn jQuery – Ajax Low-Level Interface Lesson and the other Ajax lessons on that site for more information about this.
More to learn: Basic HTML Structure